Securing Digital Hive Objects
You can create and update Digital Hive roles and groups and can assign them to objects in the Digital Hive user interface. Digital Hive comes with a set of capabilities that you can assign to roles.
You can control access to various objects in Digital Hive by using Digital Hive roles, groups, and capabilities. Digital Hive capabilities are the building blocks of roles. The default Digital Hive roles are:
Roles are a collection of capabilities. Roles are assigned to groups, and the group inherits those capabilities. The group can override the inherited capabilities. Users are assigned to groups. When you log in to
Digital Hive, your capabilities will be a combination of the capabilities available to you via the groups that you belong to. The same is true for any Digital Hive user.
Groups are used to control access to Game Boards.
Capabilities are used to restrict access to Digital Hive functionality.
You can find the complete list of available capabilities and their descriptions on the Security > Capabilities page in the Digital Hive Admin Panel area.
Creating a Digital Hive User Group
You can secure access to Game Board with Digital Hive user groups.
Procedure
- Log in to Digital Hive with an account that has administrative privileges.
-
At the top right corner of the Digital Hive interface, click the applications icon (
 ) and in the Applications box that
appears.
) and in the Applications box that
appears.
The Applications Panel panel opens.
-
In the Applications panel, scroll down and click the Digital Hive Admin Panel icon.
The Digital Hive Admin Panel panel opens.
- In the navigation bar, select Security > Groups.
-
At the top right corner of the page, click the Add icon (
 ).
).
A new entry section activates at the bottom of the list.
- ype a Name and a Description in those fields.
-
Tab to the Roles column or click into it.
If any roles currently exist, they appear in a drop-down box.
- Select a role and, if you wish to add more roles, select another.
-
Click Done.
Important: The group is not created yet. You must click Apply to finalize creation.
-
At the top right of the page, click Save.
Digital Hive creates the group.
Setting the Default Game Board for Another User
Using this procedure, you can configure another user to use a default Game Board.
Before you begin
Ensure that:
Procedure
- Log in to Digital Hive with an account that has administrative privileges.
-
At the top right corner of the Digital Hive interface, click the Applications icon () and in the Applications box
that appears, click the Administration icon.
The Applications panel opens.
-
In the Applications panel, scroll down and click the Digital Hive Admin Panel icon.
The Digital Hive Admin panel opens.
-
In the navigation bar, select Users and Security > Groups.
The User and Security page opens.
-
On the User and Security page, locate the user whom you wish to assign your current Game Board as the default and click the edit icon (
 ) on the right side of the row.
The row becomes editable.
- Navigate to the Default Game column. In the menu that opens, click the Game Board you wish to assign to the user.
- Click the Apply Changes icon (
 ).
).
Including Active Directory Entitlements in a User Session
You can configure Digital Hive to query Active Directory for supplemental information for users.
When a system uses Windows Integrated Authentication, Digital Hive users can include roles and groups stored in an AD or LDAP authentication provider. When another authentication provider source is used (Digital
Hive Database, CAS, header-based trusts via authenticating proxy servers) Digital Hive must explicitly query Active Directory to include the AD-based groups and roles for a user.
By including AD groups and roles as part of a user's identity, you allow Digital Hive to use the configured Active Directory information while keeping the systems relatively decoupled. Active Directory admins can
continue to define user roles and relationships with native AD tools, and digital hive administrators can configure permissions on Digital Hive objects in the Digital Hive user interface. By referencing an AD
group or role in Digital Hive permissions, Digital Hive can enforce security appropriately for a user in a given set of AD groups.
Although it is simplest to implement if the user's Digital Hive user name matches that used in AD, alternatively, if the user names do not match, you can map an AD user to a Digital Hive user by an attribute on
the AD account.
For example, if a Digital Hive user is known by the user name jdoe in Digital Hive but has the account name 122334 in Active Directory, Digital Hive will be unable to match jdoe to
122334 within Active Directory.
 Note: If mapping to the same user name in AD, it is not necessary to include the domain name (domain\username). Just use the simple user name.
Configuring AF Entitlements in the Digital Hive.Properties File
You can include Active Directory entitlements for all SSRS connectors or Digital Hive authentication providers by adding properties in the theia.properties file.
Procedure
-
On the computer on which Digital Hive is installed, open a Command window running as an Administrator and navigate to the following folder:
{Theia-install-directory}\app\node1\apache-tomcat-{version}\conf
- In a plain-text editor, open the theia.properties file.
-
Append the following properties to the file, substituting the placeholders for their values on your system:
# Turns the AD lookup on or off
motio.theia.ad.authority.lookup.enabled=true
motio.theia.ad.username={An AD user who can query the AD}
motio.theia.ad.password=unencrypted:{User password, to be encrypted}
motio.theia.ad.url={Fully qualified URL for the AD, for example,
    myactivedirectory.org.com}

motio.theia.ad.domainName={Fully qualified domain name for the AD search context}
# A domainName value like org.com would map to LDAP CN=org,cn=com
# If the domainName value does not match, results will be empty
-
If mapping Digital Hive users to Active Directory by using an AD attribute, add the following property and substitute your attribute name for the placeholder value:
motio.theia.ad.user.atttribute.name={AD attribute for your organization}
- Save and exit the file.
-
Restart the Digital Hive server.
The configured users will now have the entitlements associated with their user name in Active Directory
Configuring AD Entitlements Via the Digital Hive User Interface
You can include Active Directory entitlements for Digital Hive users directly through the Digital Hive Admin panel.
Procedure
- Log in to Digital Hive with an account that has administrative privileges.
-
At the top right corner of the Digital Hive interface, click the applications icon () and in the Applications box that
appears, click the Administration icon.
The Applications Panel panel opens.
-
In the navigation bar, click Systems.
The Systems > Manage page opens.
-
In the row of the default, Digital Hive content system, click Edit.
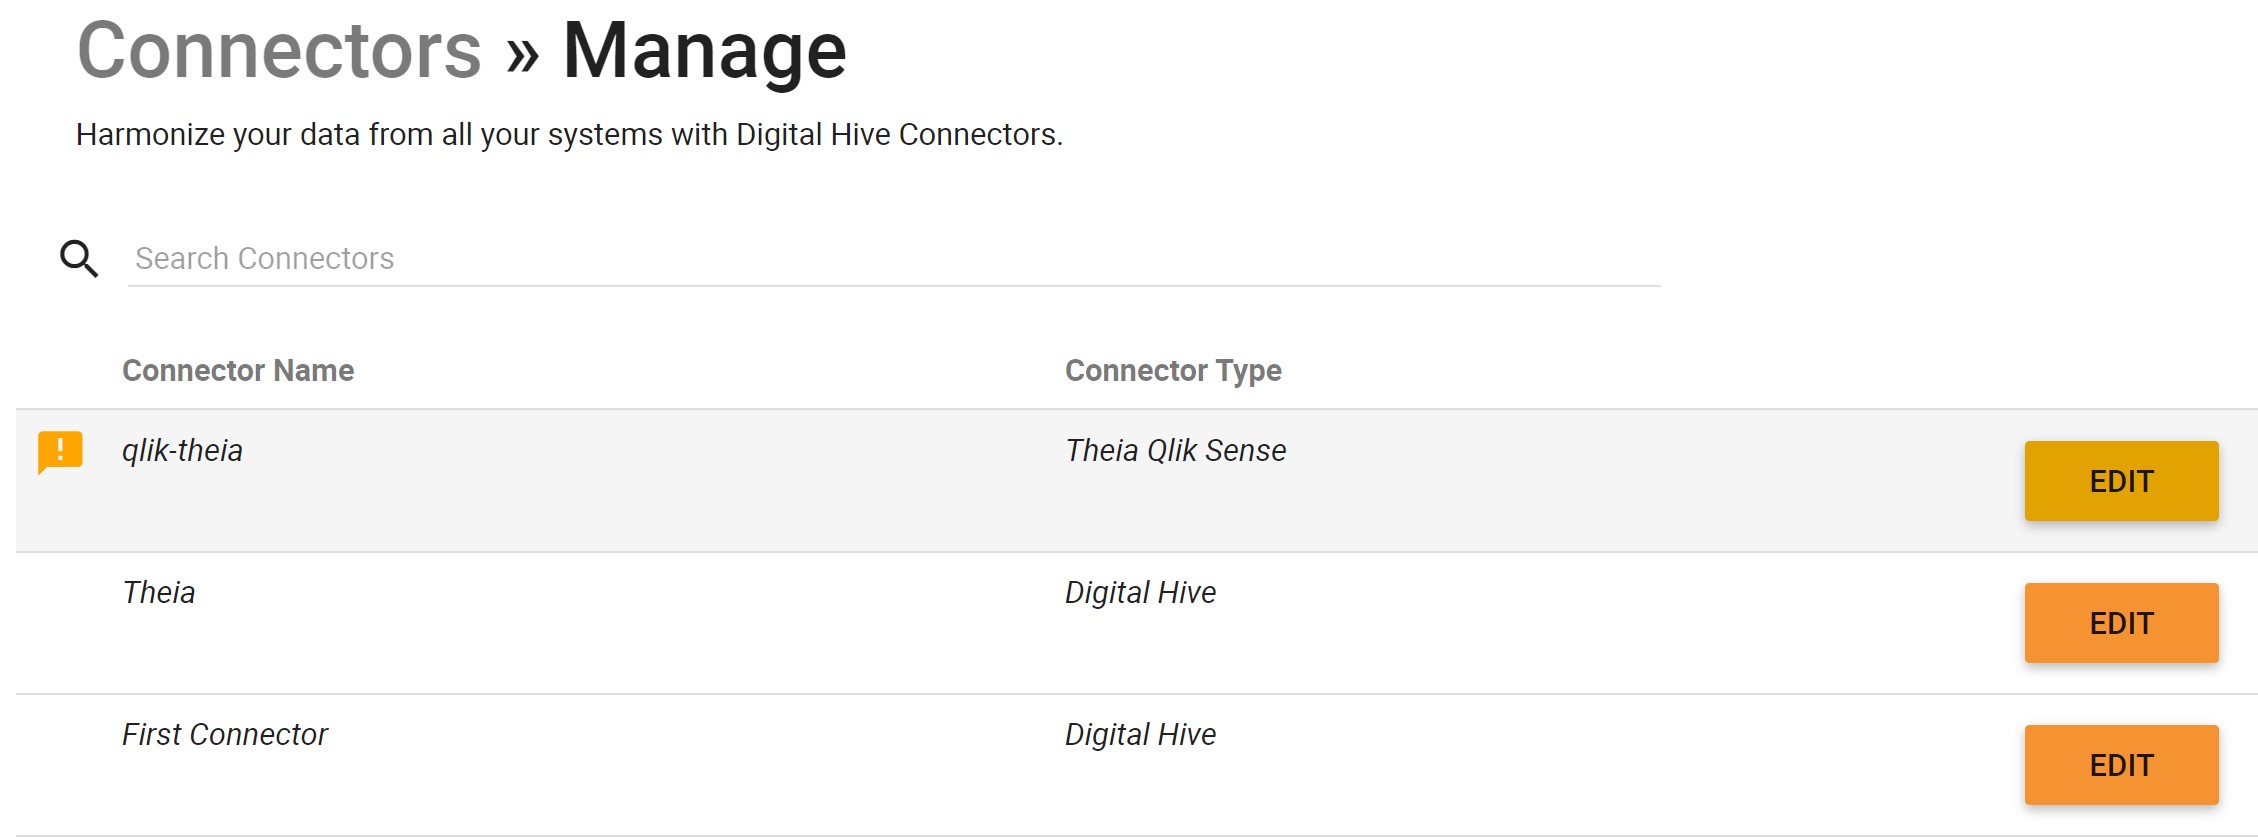
The Edit Connector dialog box opens.
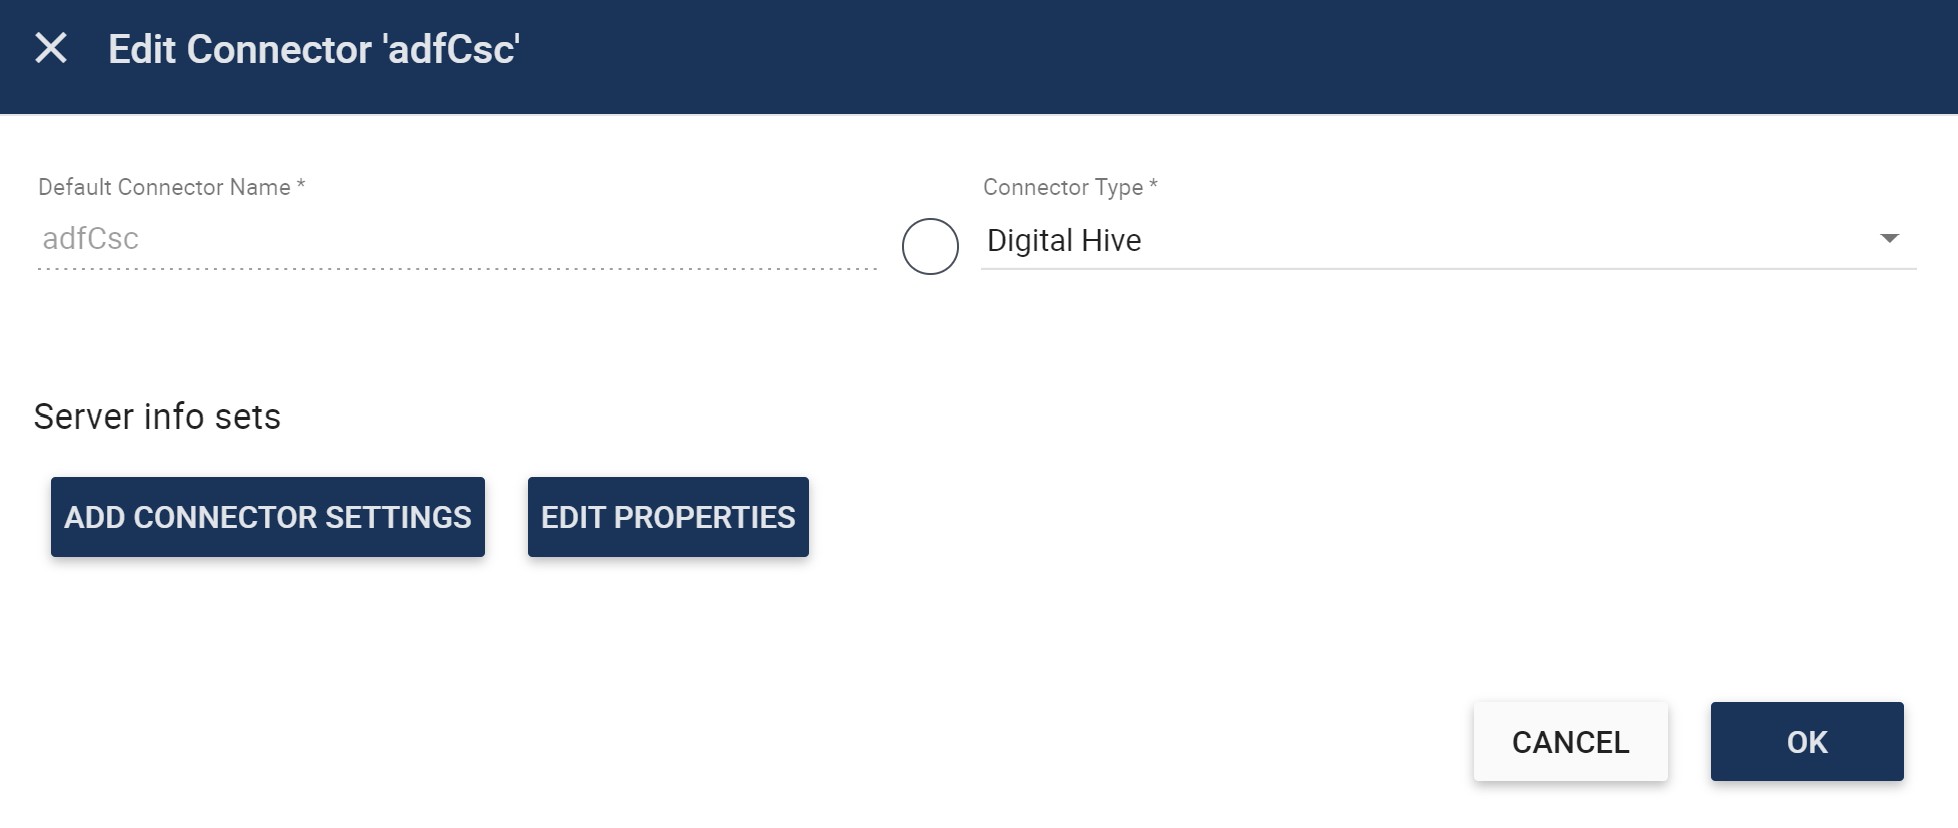
- Click Edit Properties.
- In the Edit Properties-adfCsc box that opens, click Add Property six times, to add six empty rows.
-
In the new rows, enter the following values:
| Property Name |
Description |
|
motio.theia.ad.authority.lookup.enabled=true
|
Turns the AD lookup on
|
|
motio.theia.ad.username=
|
An AD user who can query the AD |
|
motio.theia.ad.password=unencrypted:
|
Password for the above user name. Will be encrypted. |
| motio.theia.ad.url= |
Fully qualified URL for the AD, for example, myactivedirectory.org.com |
| motio.theia.ad.domainName= |
Fully qualified domain name for the AD search context
- A domainName value like org.com would map to LDAP CN=org,cn=com
- If the domainName value does not match, results will be empty
|
| motio.theia.ad.user.atttribute.name |
If the Digital Hive user names and AD user names do not match exactly and you wish to map to an AD attribute other than user name, enter the AD attribute that you wish to map to, for example,
employeeID
|
- Click OK to close the Edit Properties-adfCsc box and again to exit its parent dialog box.
-
On the Connectors > Manage page, click Apply to save the configuration.
Digital Hive saves the configuration, and the changes take effect immediately.
