Game Boards
A Game Board is the main interaction point for users in Theia.
Game Boards consist of pages and tiles. Pages contain tiles, and tiles contain content. Pages can also contain folder structures. Game Boards can be built in a large variety of ways to satisfy business and user
needs. You can style Game Boards using any styles supported by CSS. Theia does not limit how many Game Boards you can create.
Use care when creating Game Boards; a user can access multiple Game Boards once logged in, depending on the user group that the user belongs to and the groups that the Game Board belongs to.
A default Game Board is included with Digital Hive, but you will need to modify it to display your data. Configuring at least one Game Board is among the first setup tasks after installation.
Adding an Artifact to a Tile
In order to access content system objects after you have added the relevant connector and mounted folders, you can add BI objects directly to Artifact viewer tiles.
Before you begin
About this task
Game Boards consist of tiles. You must add a tile before you can add artifacts to the Game Board.
-
If you have not already done so, on the Game Boards page in the Digital Hive Admin Panel, click the link in the URL field for the Game Board that you wish to add an artifact to.
The new Game Board opens, in a new browser tab.
-
Click the Edit Tiles icon.

A grid appears on the page.
-
Click the Add Tile icon.

A slide carousel appears at the bottom of the page.
- Click and drag a tile type, for example, Artifact viewer, onto the grid.
-
Click the Settings icon (
 ) at the bottom of the tile.
The Artifact viewer Properties dialog box opens.
- In the Title field, type a display name for the tile.
-
Click the icon in the Artifact field.
The Item Browser dialog box opens.
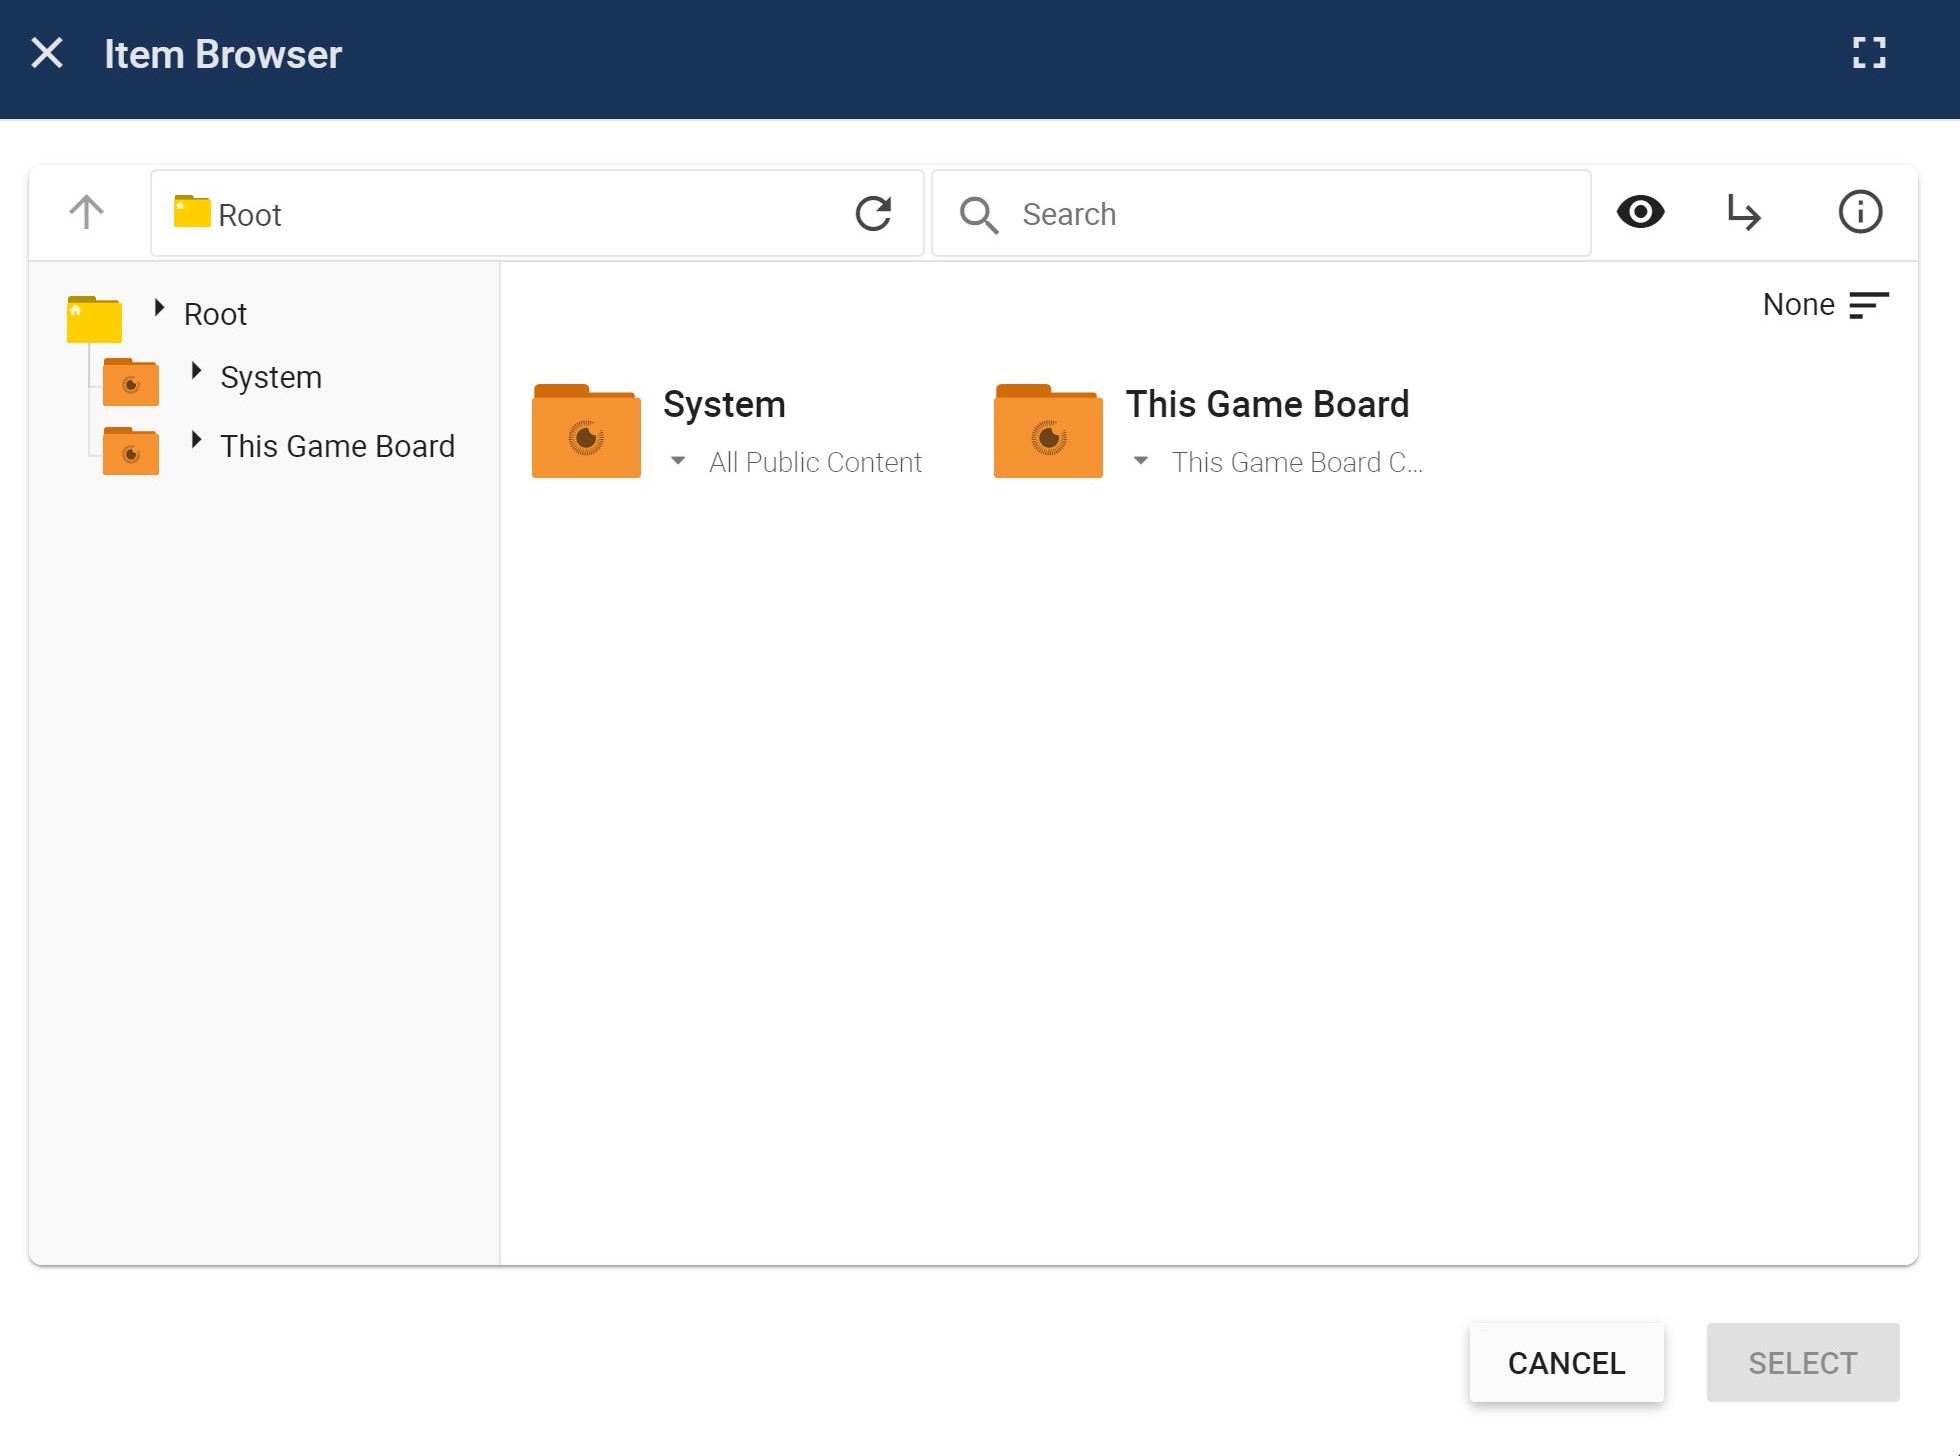
- Browse to and select the artifact that you wish to add to the tile.
- Click Select.
-
In the Artifact viewer Properties box that opens, click Apply.
The Artifact viewer Properties box closes, and Digital Hive adds the artifact to the tile.
- Click the Exit Edit Tiles icon
 to exit edit mode.
- At the top right, click your profile icon and then click Save Changes to save the newly configured tile along with the Game Board.
Uploading a File to a Tile
On occasion, for example, to add logos or other graphics, it may be convenient to upload a file from your computer directory to the Digital Hive server.
Before you begin
About this task
Game Boards consist of tiles. You must add a tile before you can add upload a file to the Game Board.
Procedure
-
If you have not already done so, on the Game Boards page in the Digital Hive Admin Panel, click the link in the URL field for the Game Board that you wish to add an artifact to.
The new Game Board opens, in a new browser tab.
-
Click the Edit Tiles icon.
A grid appears on the page.
- Navigate to the artifact that you wish to add and select it.
-
Click the Add Tile icon.
A slide carousel appears at the bottom of the page.
- Click and drag a tile type, for example, Image, onto the grid.
-
Click the Settings icon () at the bottom of the tile.
The Image Properties dialog box opens.
- Optional: In the Tile field, type a display name for the tile.
- Optional: Make any other desired tweaks in the visual display fields.
-
Click the Image field.
The Image Browser dialog box opens.
-
In the left pane, navigate to and double-click the folder to which to upload the file.
The Image Browser dialog box reloads, showing the Create Asset icon (+) in the top row.

-
Click the Create Asset icon, and in the context menu, click
Upload File.
A file browser window opens.
- Select the file to upload, and click Open.
-
In the Upload dialog box, click Upload.
The uploaded file appears in the item browser, dimmed out.
-
Select the uploaded file, and then click Select.
The Image Browser dialog box closes, and the file name displays in the Image Properties box.
-
In the Image Properties dialog box, click Apply.
The uploaded image displays in the Game Board tile.
- Click the Exit Edit Tiles icon to exit edit mode.
-
Click your user icon at the top right, and in the box of icons that displays, click the Save Changes icon.
Digital Hive saves the new image tile to your Game Board.
Exporting and Uploading Game Boards
You can export Game Boards and upload them to the same Digital Hive instance or another Digital Hive instance.
When you export a Game Board and upload it to the same Digital Hive instance, everything in the Game Board works as expected.
However, when you export a Game Board and upload it to a different Digital Hive instance, only the layout, colors, and embedded files (images, PDF, and so on) are carried over. The content from other content
systems does not carry over.
Uploading Game Boards
Use this procedure when uploading a Game Board archive file from your local computer.
Before you begin
- You must have the canExportGameboards capability.
- You must have write access to the Digital Hive server.
Procedure
-
At the top right corner of the Digital Hive interface, click the applications icon (
 ) and in the Applications box that appears,
click the Administration icon.
) and in the Applications box that appears,
click the Administration icon.
The Digital Hive Admin Panel panel opens.
-
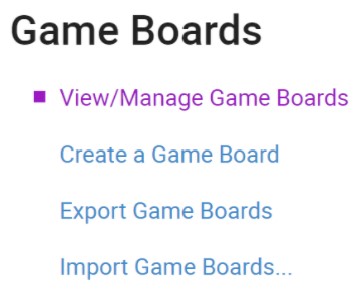
In the menu bar, select Game Boards.
The Game Board page opens.
-
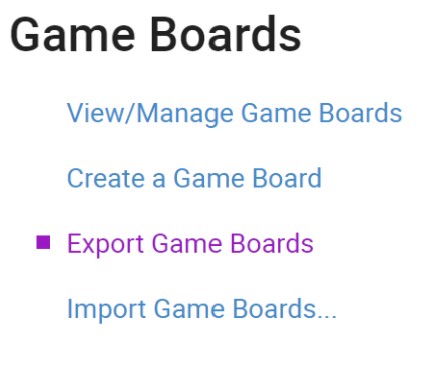
In the left navigation panel, select Export Game Boards.
The page refreshes and export icons will appear at the end of each Game Board row.
- Select the desired Game Board file for uploading from the File Browser that opens.
-
Click Import.
Digital Hive uploads the Game Board, and the uploaded Game Board appears in the list of Game Boards on the Game Boards > Manage page.