After adding connector information, you must mount your first folder in order for Digital Hive to recognize content within the content system.
Before you Begin
- Adding a New Connector
- You should be on the Digital Hive Admin > Systems > Manage page.
- Ensure that you have successfully added the credentials for the content system in you profile, as described in Adding a Credential to your Digital Hive Identity.
About this Task
Mounted folders are starting points within content systems that have a folder structure. They enable Digital Hive to see all content or a subset of content for a given content system. You can mount multiple folders. Use mounted folders to control what content is shared with Digital Hive. For most connector types, the process is virtually identical:
- IBM Cognos
- IBM Cognos TM1®
- Microsoft® PowerBI
- Microsoft® SharePoint Online
- Google Drive™
- Qlik Sense
- Tableau® Server
For the remaining connectors (File system and Microsoft SQL Server Reporting Services) the procedure for mounting a folder is covered in the Adding a new connector section for that specific connector type. You
can mount as many folders as you like, but in order to use a connected content system, Digital Hive must be aware of at least one mounted folder for that system.
For example, for your IBM Cognos system, Digital Hive might have the following start folders configured:
- Public Folders > Samples > Models > Cognos Workspace Samples
- Public Folders > Queries Studio Templates
- Public Folders > GO Sales > Query Studio Report Samples
Procedure
-
On the Systems > Manage page, on the right side of the row of the connector of interest, click the context menu icon (
 ) and in
the menu that appears, select Mounted Folders.
) and in
the menu that appears, select Mounted Folders.
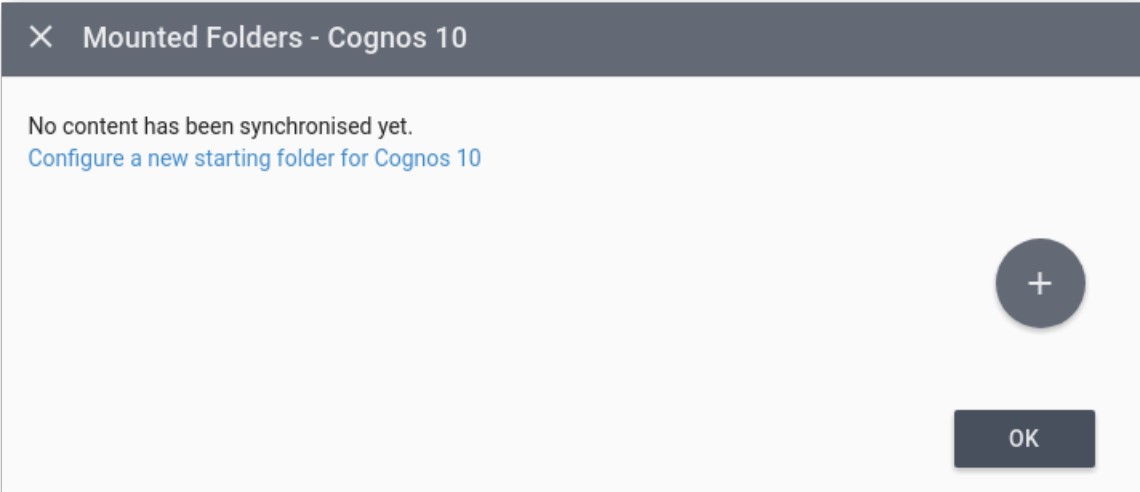
The Mounted Folders box opens, showing a Configure a new starting folder for {content system} link.
-
Click Configure a new starting folder for {content system}.
A row with a Start Folder Name field appears, along with a Browse icon, Advanced drop-down menu, Add and Cancel buttons, and a second row with drop-down boxes for Locator type and Locator attribute, and an output field showing the value selected in the Locator attribute field.
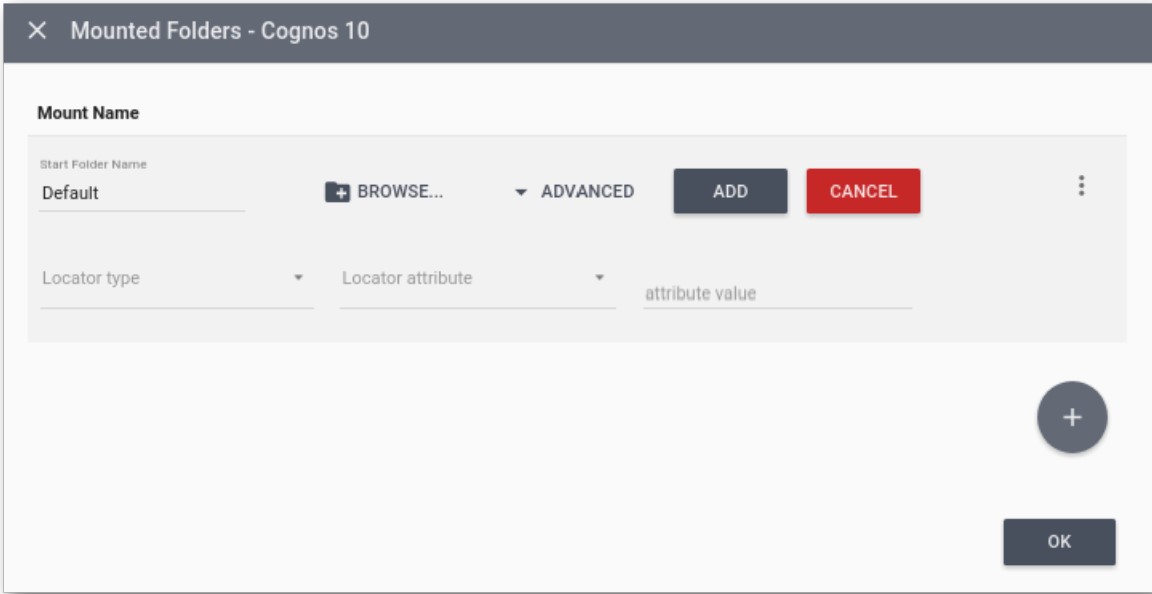
- In the Start Folder Name field, type a descriptive name for display in Digital Hive.
- Click Browse.
- In the file manager window that opens, select the folder that you wish to mount
-
Click Add.
Digital Hive adds the folder in the Mounted Folders box, showing its mount name and several action buttons.
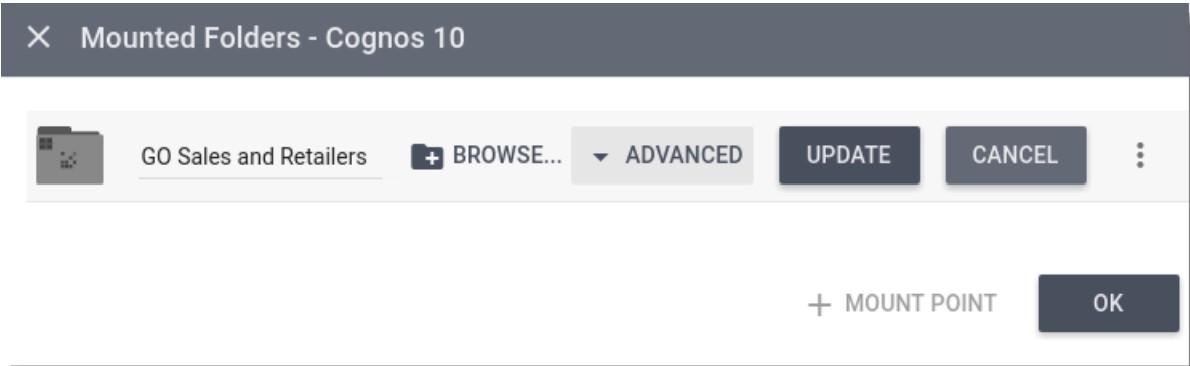
- Click OK to close the box.