The Digital Hive Metadata Catalog enables users to produce a collection of data on their data. The act of organizing, maintaining, and effectively using data will allow for enhanced searching capabilities that will increase workflow productivity.
The Digital Hive Metadata Catalog
Importing and Exporting Metadata Catalog
You can export the Metadata Catalog to your local folder browser or import an existing Metadata Catalog to Digital Hive.
Importing Metadata Catalog
Use this procedure when importing a Metadata Catalog from Digital Hive.
Before you begin
- You must have write access to the Digital Hive server.
Procedure
-
At the top right corner of the Digital Hive interface, click the applications icon (
 ). In the Applications box that
appears, click the Administration icon.
). In the Applications box that
appears, click the Administration icon.
The Digital Hive Admin Panel page opens. - In the navigation bar, click Systems.
The Systems page opens. - In the left navigation panel, select Content Settings.
The Systems > Content Settings page opens. - Use the toggle to enable Metadata Catalog.
The page refreshes, a writing field and JSON Schema Cheat Sheet displays.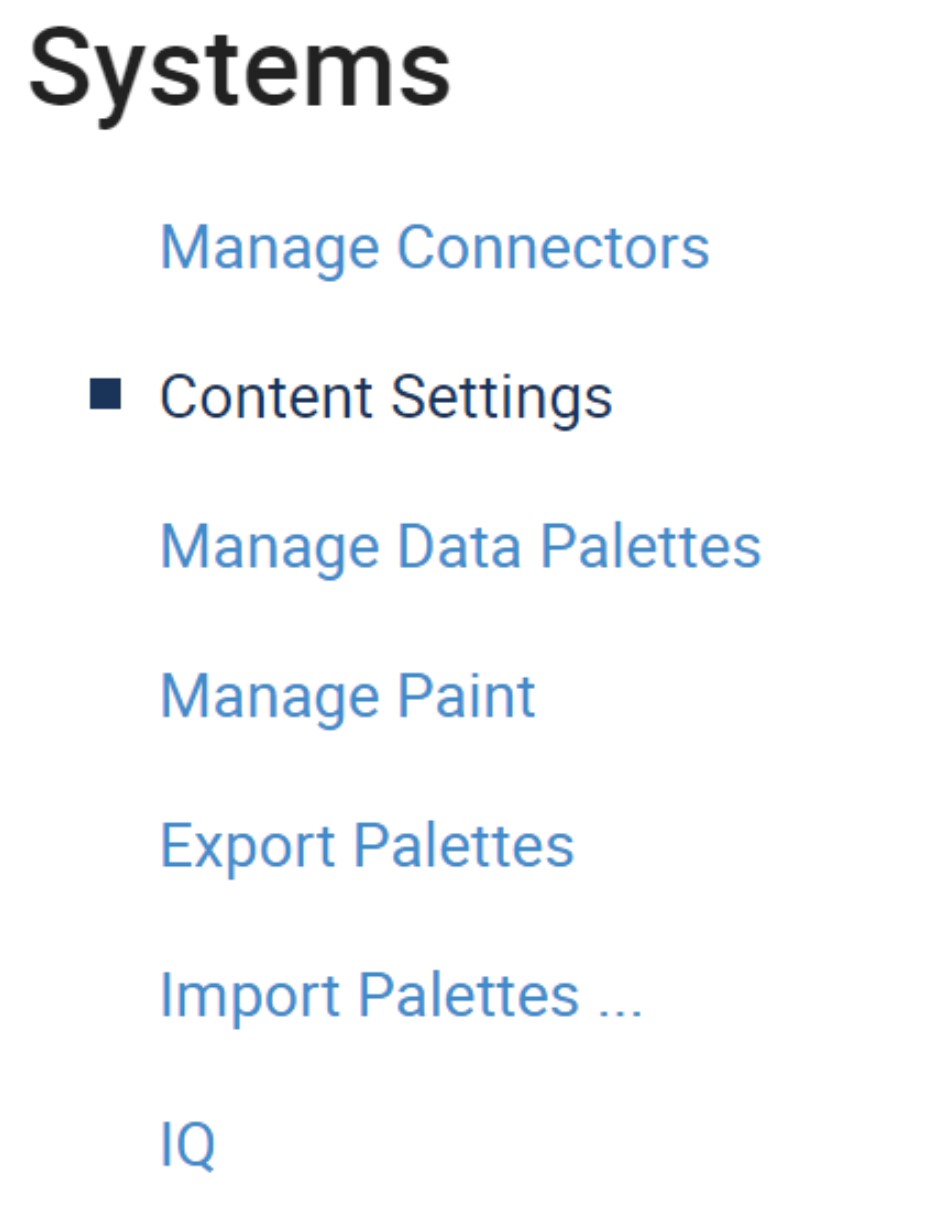
- Beside Enable metadata catalog click the context menu (
 ).
). - Select Import metadata.
Your local folder browser opens. - Select desired JSON file to import.
Metadata is imported to Digital Hive.
Exporting Metadata Catalog
Use this procedure when exporting a Metadata Catalog from Digital Hive.
Before you begin
- You must have write access to the Digital Hive server.
Procedure
-
At the top right corner of the Digital Hive interface, click the applications icon (). In the Applications box that
appears, click the Administration icon.
The Digital Hive Admin Panel page opens. - In the navigation bar, click Systems.
The Systems page opens. - In the left navigation panel, select Content Settings.
The Systems > Content Settings page opens. - Use the toggle to enable Metadata Catalog.
The page refreshes, a writing field and JSON Schema Cheat Sheet displays. - Beside Enable metadata catalog click the context menu ().
- Select Export metadata.
Digital Hive exports the metadata JSON file to your local computer.
Generating Metadata Catalog
The Digital Hive server provides an input field where you will produce your code for the Metadata Catalog. A JSON Schema Cheat Sheet, with several form types, is also provided for easy referencing when generating your code.
Before you begin
- You must have write access to the Digital Hive server.
Procedure
-
At the top right corner of the Digital Hive interface, click the applications icon (). In the Applications box that
appears, click the Administration icon.
The Digital Hive Admin Panel page opens. - In the navigation bar, click Systems.
The Systems page opens. - In the left navigation panel, select Content Settings.
The Systems > Content Settings page opens. - Use the toggle to enable Metadata Catalog.
The page refreshes, a writing field and JSON Schema Cheat Sheet displays.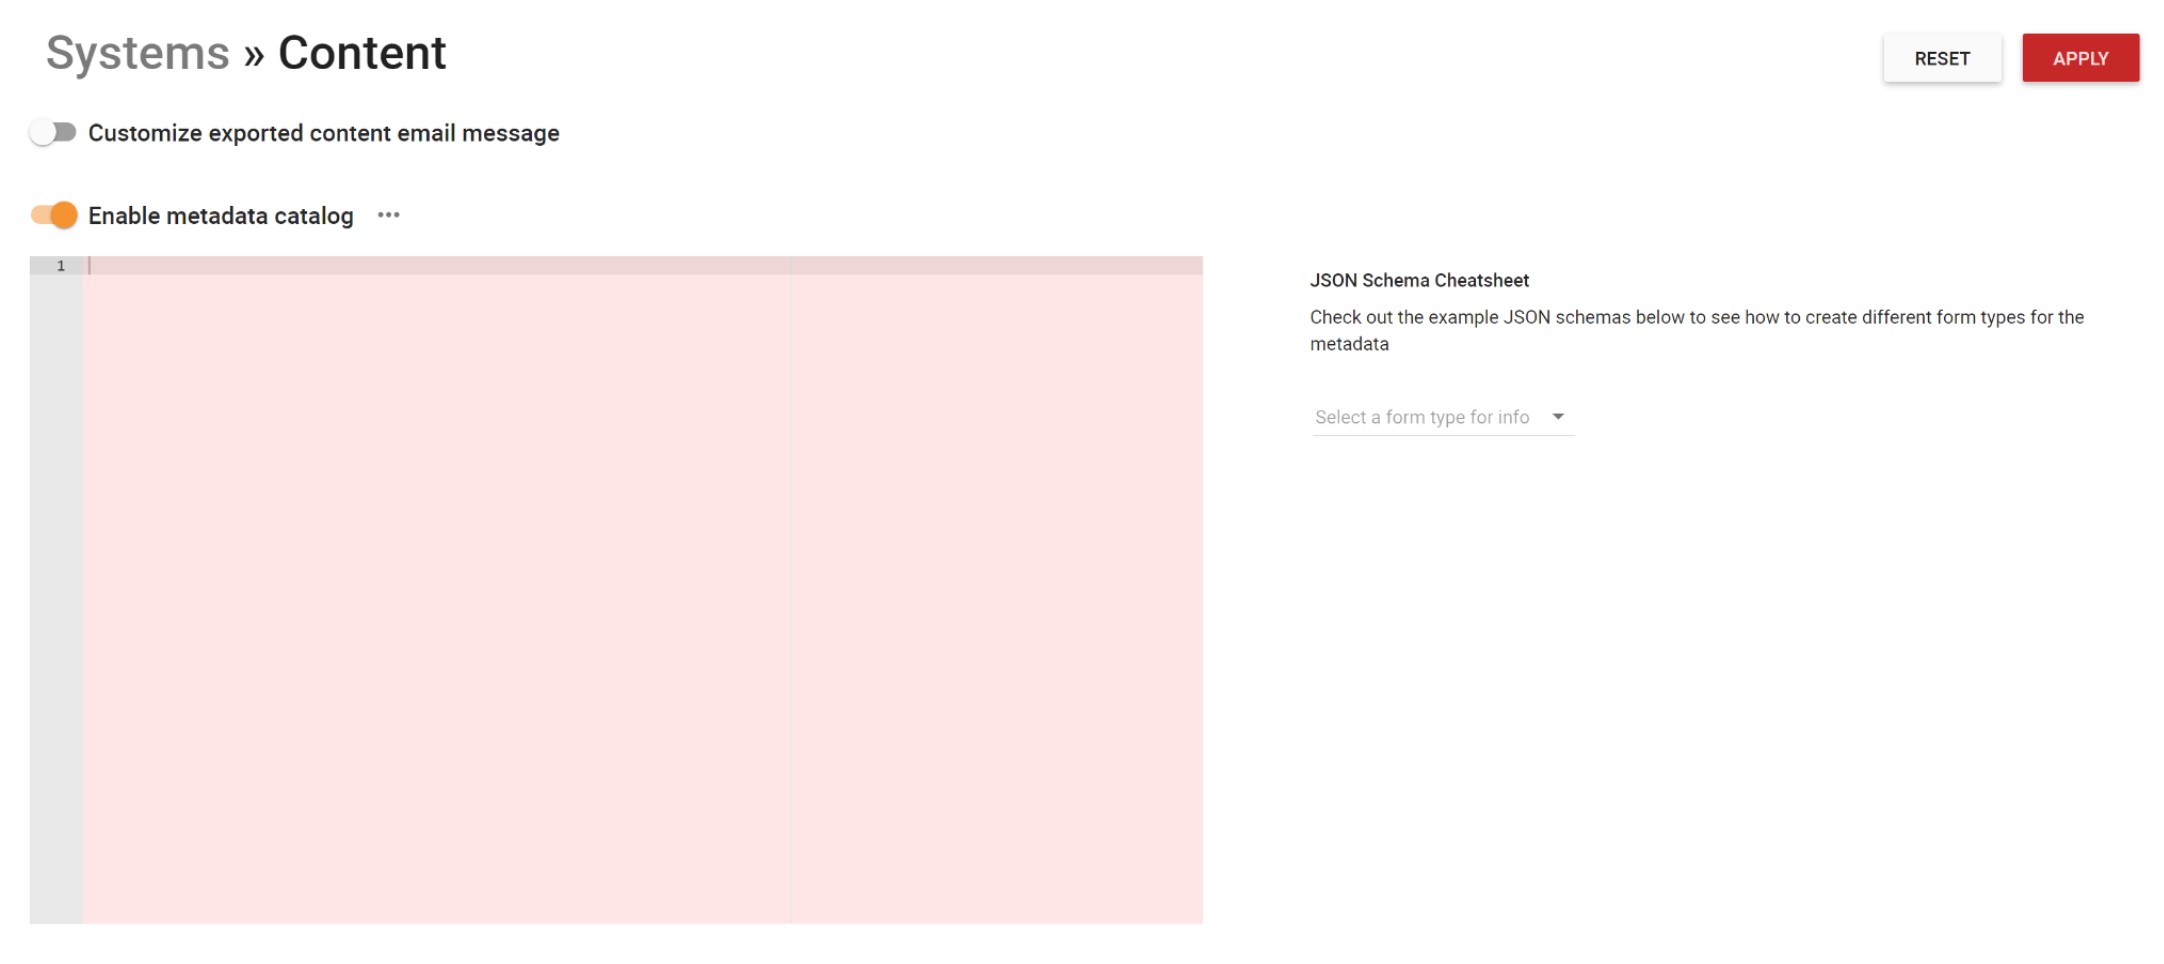
- Click the Select form type for info dropdown box to the provided given examples.
This includes:- Array of Complex Data
- Checkbox
- Collection of Forms
- Date/Time
- Multi-Select from Options
- Number
- On/Off Switch
- Property Grid of Other Forms
- Select from Options
- Text
- Text (multi-line)
- Text (with hints)
- Select desired form type in the list provided.
The page refreshes with the Example and Properties section. - In the Example section, there is Example Schema, Generated Form, and Output.
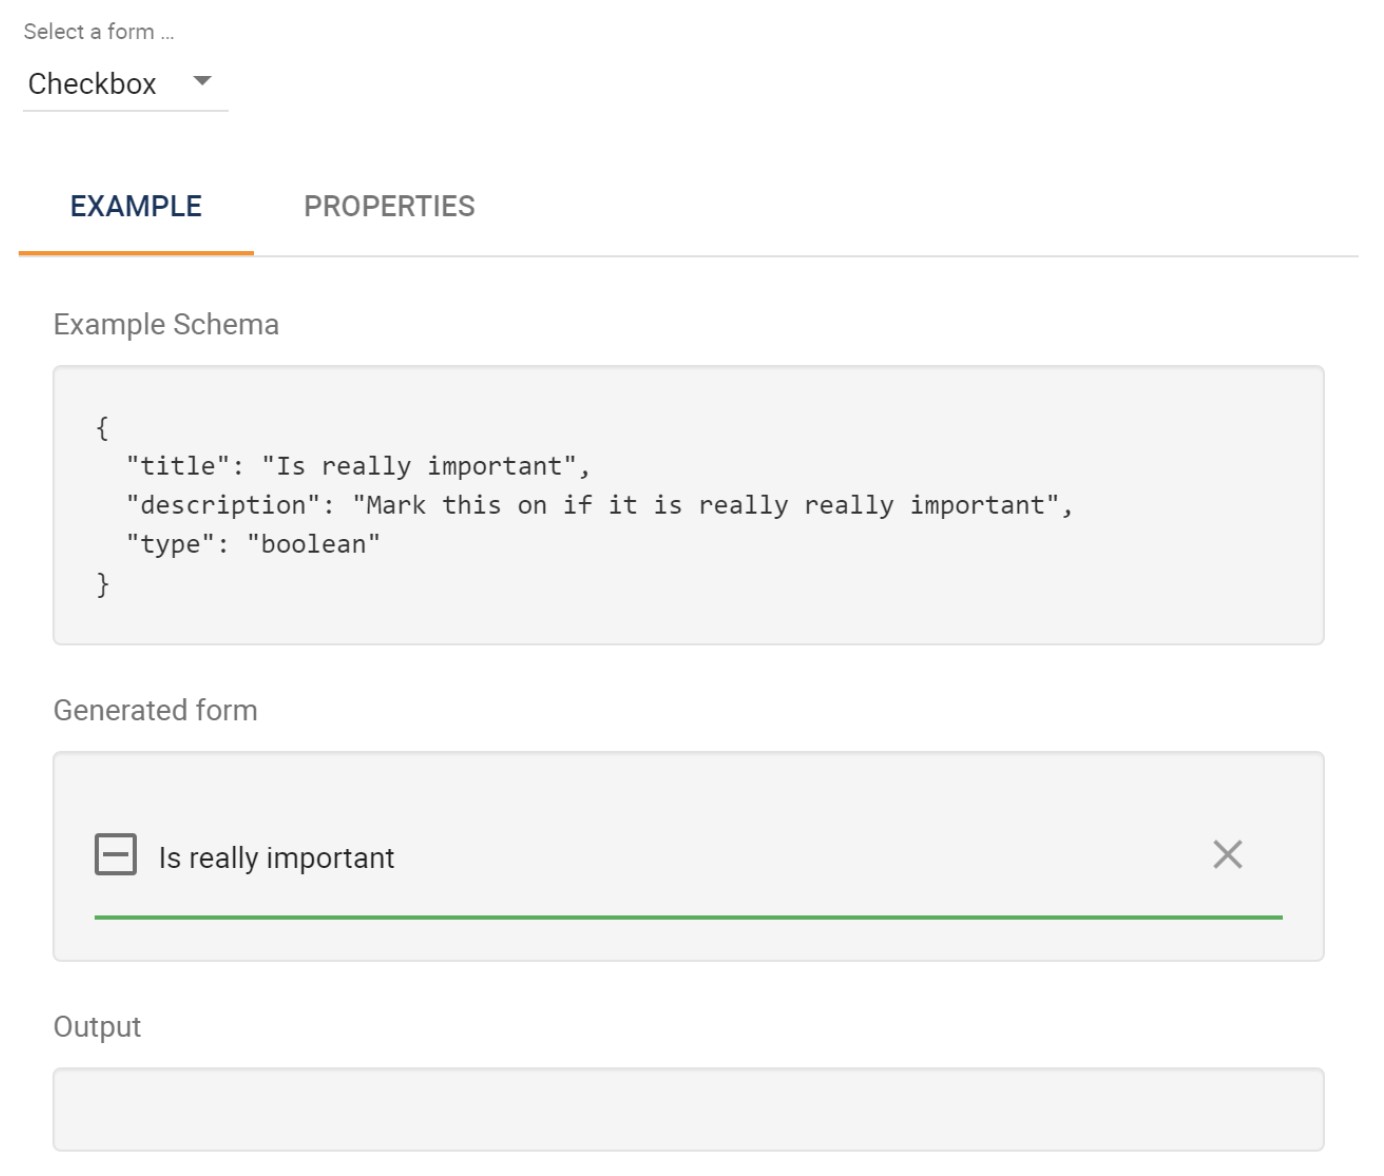
- Use the Example Schema as a reference to write your own code.
- Use the Generated Form box to input example data.
- The generated format will appear in the Outbox box.
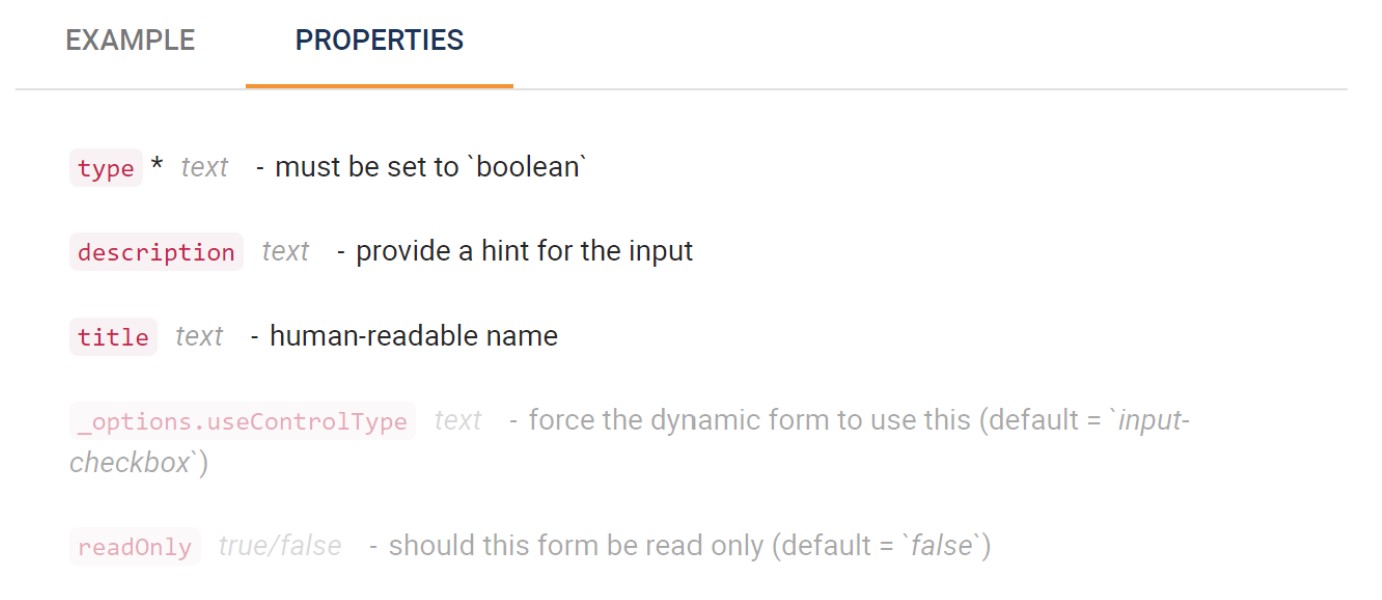
- Navigate to the Properties tab to learn more about the variables needed in the selected form type.
- To save all changes made in the metadata, click Apply.